
Larger View HERE
Larger View HERE

Larger View HERE
Miss Apis Mellifera poses for a daguerreotype glamour shot:

Many North Americans think all bees are honeybees. Little Miss Apis Mellifera here is a (non-native) Western honeybee just like the domesticated ones that were first brought to the New World by European colonists in the 1600s. Unlike Miss Apis Mellifera, there are actually about 4,000 species of bees that are native to the United States. There are more kinds of bees than there are birds and fish put together! Our native bees are valuable crop pollinators – scientists estimate that native bees perform as much as $6.7 billion worth of pollination annually in the United States. More on native pollinators HERE and HERE.
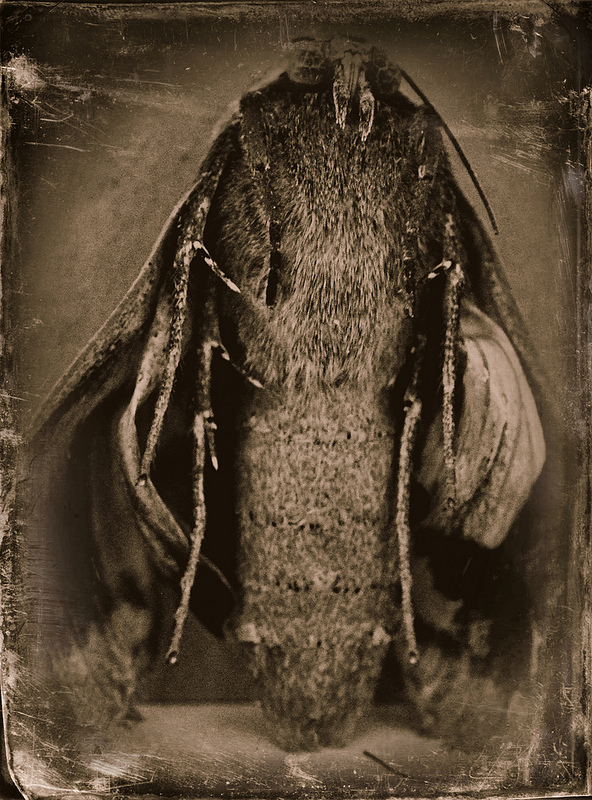
Bug collecting (or any collection or hobby for that matter) doesn’t have to look just one way. I’m thinking that a few homemade insect portraits might add a nice flare to our ever evolving entomology studies. Here’s Mr. Noctua pronuba as he poses for his first daguerreotype:

An introduction to scientific classification or taxonomy can be as easy as remembering ‘King Philip Came Over For Good Spaghetti’ (Kingdom, Phylum, Class, Order, Family, Genus, Species). For the bug enthusiast, a personalized fact file of bugs that live around the house helps greatly in the learning and memorizing of the different classifications (and a little anatomy while you’re at it). I think it would be less interesting (especially for children) to begin from a manual of bugs that one has never and may never meet. Moths are a nice starting point because everyone has them, one can attract them at night with the porch light, and their faces are so cute and furry.
My daughter and her friends are self-proclaimed bug veterinarians. This is the poster she created for their clubhouse meetings:

The process was simple:
Using a large size black foam board (extra-large size at Staples), neatly arrange the most important objects that are used in the club or project. This was probably the trickiest part – being able to narrow down just the key elements and not including everything. This was good practice in identifying the essentials or the core principles of the club’s mission.
Try to leave an equal amount of black space around the edges of your object display, establishing a “frame” for optimal effect. Also, try to space out each object roughly the same distance from one another.
Photograph the board from directly above, as best as you can.
Crop your photo and add text in Photoshop. If you don’t want to use Photoshop you could try free photo editing at Pic Monkey. Alternatively, you could add your own labels prior to photographing.
There it is, easy peasy.
